Like a recipe? Find it here!

Sunday, November 4, 2012

Roasted Butternut Squash and Goat Cheese Pasta

I have decided to come out of early retirement. 

Thanks to all of you who have stayed on me about starting up again. I have been meaning to for some time now but, man, has 2012 been a busy year!

Let's recap, Matt and I went to California in April, we sold our condo in May, June- August were jammed packed with engagement showers, bridal showers, and bachelorette parties... then September was the main event! It was the most perfect wedding day I could have asked for and now we are just enjoying life as newlyweds until we leave for our honeymoon on Thanksgiving.


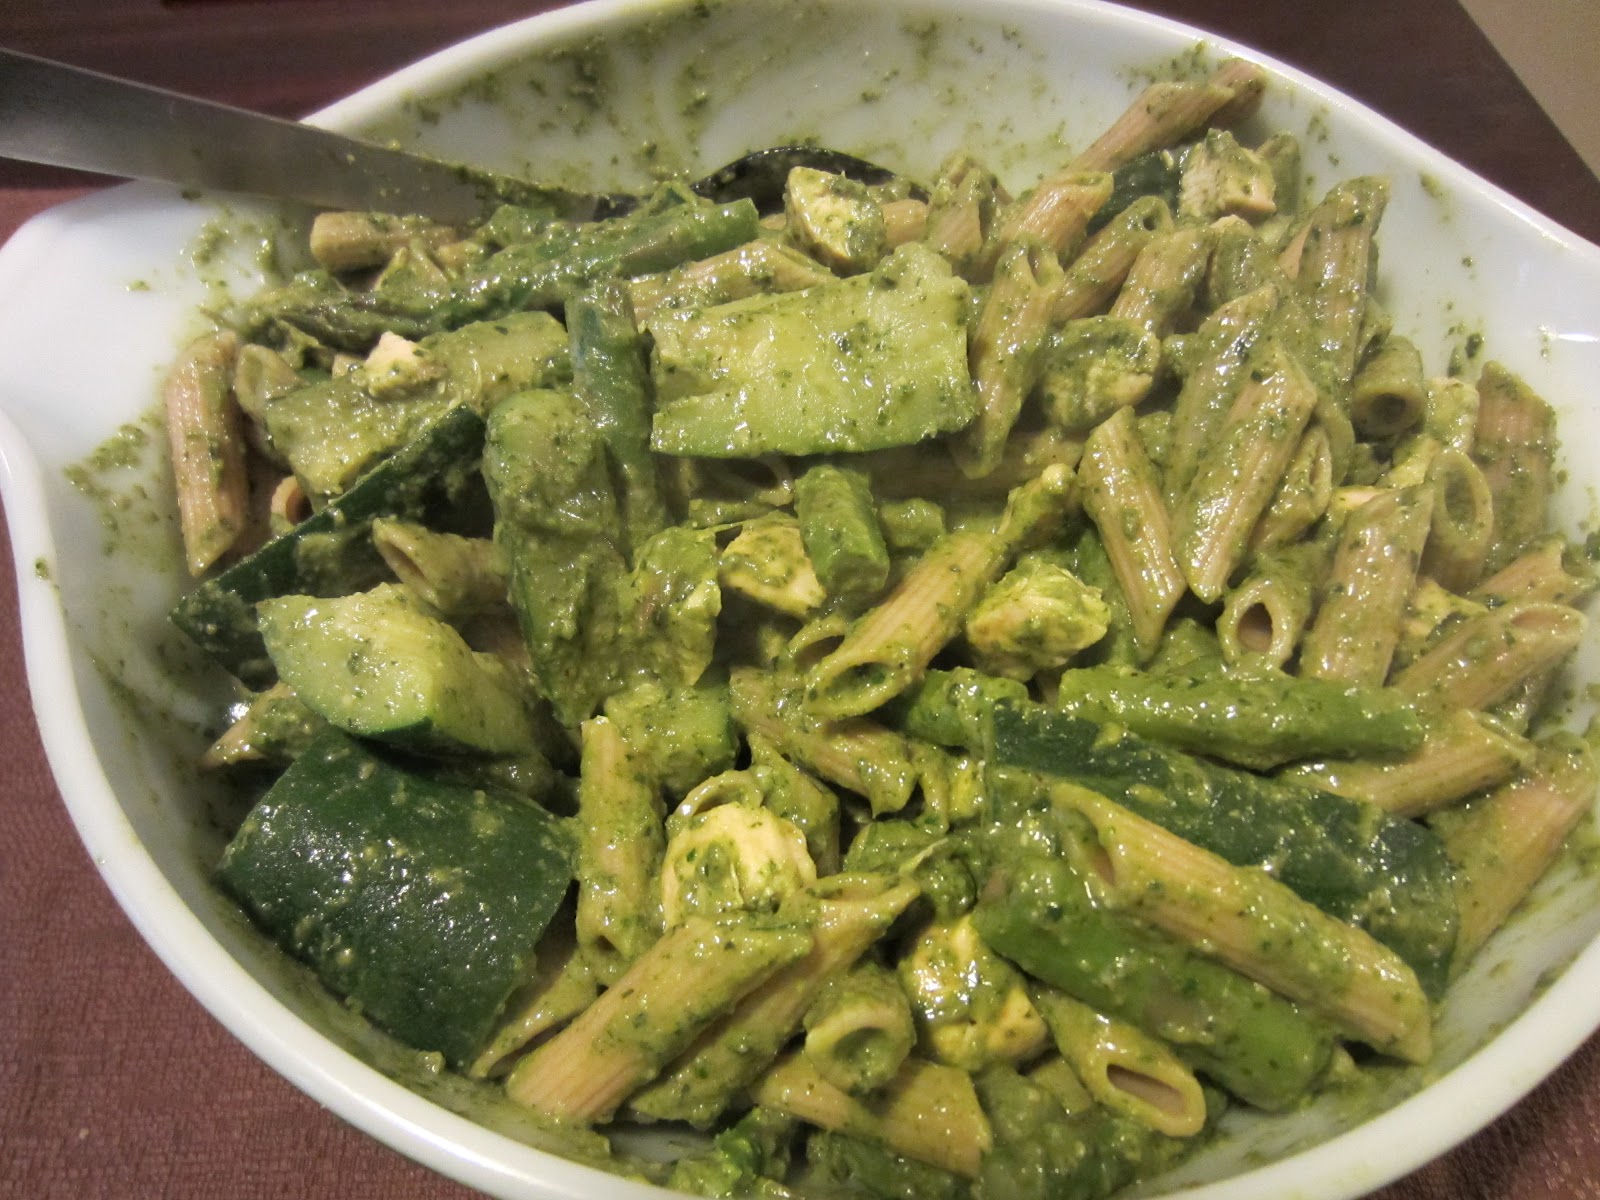
Now let's talk about this meal. I want it to be my best friend. I want to be around it all the time. It's. That. Good.

Roasted Butternut Squash and Goat Cheese Pasta

Ingredients
2lb Butternut Squash
1 Onion
8-11oz Goat Cheese
1lb Whole Wheat Pasta
2oz Prosciutto
2/3 cup Chopped Basil
Olive Oil
Parmesan Cheese

Directions
Preheat oven to 425 degrees. Cut the peeled and seeded butternut squash into about 1 inch cubes. Dice onion into similar size. Lay squash and onion on a baking sheet- coat liberally with olive oil and salt and pepper. Put in oven for 40-45 minutes. Bring a pot of salted water up to boil and add your pasta, cook according to package. Crisp cut up prosciutto in a pan and set aside. Also at this point, cut your basil and set aside.

Once pasta is done, set aside 2 cups pasta water and drain the rest. Add your goat cheese with 1 cup pasta water, if you want it more creamy add more pasta water (with 11oz goat cheese I usually use about 1 1/2 cup pasta water). Once the goat cheese is melted you can add your roasted squash and onions, crispy prosciutto, and basil (if you want a little more color, I have added sun dried tomatoes before). Toss until everything is combined and then top with Parmesan cheese.


Enjoy! :)

Thursday, May 17, 2012

Chicken Fried Rice

How pretty is this bowl of tasty heaven? I want to dive in head first.


It's so colorful. and healthy. and delicious. and colorful. Speaking of colorful, here is a story for you: I was talking to my Mom's friend Dee the other day... When she asks her grand daughter, who is not quite 4, what her favorite color is, her answer every time is colorful. How flipping cute is that?! Colorful. Here you go Audrey- a big bowl of colorful.
Just.For.You.

Do you think I can say colorful one more time in this post? Colorful. Ok. I'm done.

I only have one qualm about this dish. And it's that my kitchen is not equipped with one of those hibachi cooking tops so I can just fling rice all over the place and make onion volcanoes. I wonder where I can register for one of those bad boys...I smell a home renovation in my future.


Chicken Fried Rice

Ingredients
3 tbsp Sesame Oil, Divided
3 Cloves Garlic, Minced, Divided
1 tsp Lime Juice
1 tsp Sriracha
Low Sodium Soy Sauce
Half of an Onion, Diced
1 1/2lbs Bonesless, Skinless Chicken Breats, cut into bite size pieces
1 Bag Birds Eye Steamfresh Edamame in the Pod (I use these ones because they are always in the freezer, edamame that are pre-shelled would work too).
1 Cup Frozen Corn
1 Cup Diced Carrots
4 Eggs (Little bit of Skim milk for scrambling)
2 Cups Brown Rice
Salt and Pepper

Directions
Start by marinating chicken in 1tbsp sesame oil, lime juice, sriracha, 1 clove garlic (minced), salt, pepper, and low sodium soy sauce, and putting the rice on to cook.
Put 2 tbsp sesame oil in a skillet and add onion and the remanding garlic and cook until the onions are iridescent. While doing this steam your edamame and corn. Once steamed add edamame, corn, and carrots in with the onion and garlic.
To cook the chicken, I put the veggies in a bowl and wrap with foil to hold in the heat. Then I cook the chicken in the same skillet (mostly to keep the amount of dishes I have to do post dinner down).
All you have left is scramble your eggs, mix everything together, and season with salt, pepper, and low sodium soy sauce to taste.


Looking for an extra punch of protein? I have made this same meal with quinoa instead of rice. Cook your quinoa the same way as rice 2 to 1 (1 cup quinoa to 2 cups liquid). For extra taste, cook the quinoa with low sodium chicken stock instead of water.

Enjoy! :)

Wednesday, April 18, 2012

A Delicious Plate of Green Goodness

Hi. Remember me?? 


I am sorry for my absence lately… let’s recap: I finally left my dead end job and got a new job which is completely different than anything I have done (in a very good way). It is amazing to be busy for the entire work day and not be checking the clock every 5 minutes. I am still planning the wedding and can happily report most of the major things are done (well…sorta, kinda). Things are moving along which I guess is the good thing about planning! Also, I just recently got back from California where Matt took me for my last birthday as a Bielat (sad face). We spent a few days bunking with my fantastic family and hiking in Yosemite National Park….it was EXACTLY what we both needed.


Now that I have caught you up on my life, (sorry the void is not more interesting) let’s talk about this meal and the 6 times I’ve made it since the first time I put it on the table. It’s a dish I wanted to share with you since the first time I mixed the ingredients together but it gets inhaled so fast there was no way I was going to get a decent picture. Even these are mediocre at best because Matt was salivating over my shoulder with his knife and fork in hand. I don’t even know what to call it besides a delicious plate of green goodness… so that’s what we are going with.


A Delicious Plate of Green Goodness

*I apologize up front for my lack of precise measurements in this dish….it’s just one of those dishes you need to taste as you go and I make LOTS so Matt and I can have lunch for 2-3 days after (bonus- this heats up really well!!)*

Ingredients
1 Bunch of Asparagus
2-3 Zucchinis 
1-1 1/2 lbs Boneless Skinless Chicken (I season with salt, pepper, and lemon juice)
Whole Wheat Penne Pasta

Pesto Sauce: 
Basil (about 2 cups) 
Spinach (I use a couple of handfuls to give it a richer color) 
Handful of Walnuts (mostly because I have these on hand all the time and NEVER have pine nuts) 
2-3 Cloves Garlic, Minced
Parmesan Cheese
Extra Virgin Olive Oil

Directions
First things first, I get my salted water in a pot and turn the heat up to high.
Next, I put my chicken in the oven to bake while I prep everything else. I bake the chicken at 400 degrees for about 20 minutes (these are chicken tender size, not breasts).
To assemble the pesto: If you have a food processor this whole process will go MUCH easier… I however only have a blender to work with… it does the job. Roll the basil leaves and spinach leaves into rolls and slice thinly. Toast the walnuts and roughly chop. Toss the first 4 of the pesto ingredients in the blender and mix together. Slowly add the olive oil until everything is blended together and a nice consistency. After add the parmesan cheese and mix thoroughly. Set aside still, keeping in the blender.
Back to the pasta water: Once your water has come to a boil toss in your pasta. Rule of thumb for this dish in measuring your pasta: you only want to use half of your normal serving size. The idea is to use your veggies as the other half. While your pasta is boiling, cut your asparagus and your zucchini to mimic the size of your penne. When your pasta is about half way done cooking toss your veggies into the same water and let cook with the pasta until both are done.
Before you drain your pasta veggie mix take a ladle full of the pasta water and put in your blender with the pesto, blend together. This will make your pesto slightly thinner and you will have enough to coat your entire dish.
Drain your veggies and put in a large serving bowl. Add your cut up chicken (once baked, I cut in bite size pieces) and put your pesto sauce on top. Mix all the ingredients together and indulge. 


Remember, this makes great leftovers so make lots.
Enjoy! :)

Wednesday, February 15, 2012

Fish Tacos

Holy Guacamole, these are tasty.


For Super Bowl this year (yes I know, I'm posting this really late), I decided to skip the chili and go a little more unconventional, bringing tastes from home and one of Matt's personal favs! My super simple, SUPER delicious fish tacos! When I lived at the beach my family and I made it our mission to try (and rate) every fish taco in the area. Some places had the taste and the price where we visited them once a week in the summertime, while others we never visited again. We took this duty very seriously.


I'm happy to announce that these fish tacos scored very high on the fish-taco-tasting-richter-scale. Only two items actually need to be prepped and then it's left to the assembly line; can't get any easier than that!

Fish Tacos

Ingredients
3 Frozen Tilapia Filets
2 Limes
5.3 oz Plain, Non-Fat Greek Yogurt (or just a small container you would get from the store)
Taco Seasoning
Cilantro, chopped
Avocado
Raw Green Cabbage
Small Whole Wheat Tortillas

Directions
To cook the fish: Separate each filet and put it on it's own piece of aluminum foil. Sprinkle about 1/4 teaspoon of taco seasoning on each filet, along with a pinch of lime zest and chopped cilantro. Squeeze the juice of one lime over the three filets. Next, fold the foil around the fish so each one has it's own little pocket to cook it. Cook the fish at 400 degrees for 20 minutes. Take the fish and flake it into a bowl, discarding the juice and foil pockets.

To make the sauce: While the fish is cooking, empty the plain, non-fat greek yogurt into a bowl. Add a tablespoon of taco seasoning, juice from 1/2 a lime, and hot sauce to taste. Mix all together and set aside.

To assemble the taco: Start with your whole wheat tortilla and add fish. Next add your sauce and a small amount of cabbage for crunch. Top that with 2 slices of avocado,cilantro, and a little bit of lime juice (hot sauce if you are like me) and you have one scrumtious fish taco!


Enjoy! :)

Sunday, February 12, 2012

Raspberry Meringue Hearts

Need something impressive to make your honey for Valentine's Day? Something with the same delicious raspberry flavor as these but not as many steps? Well look no further, folks. Love is in the air and I have the dessert for you.


These meringues are so light and tasty it's easy to fall in love with them. I fell hard... and ate most of them. These have become some what of a tradition in our household. A tradition in the fact that I have made them last year and then I made them again this year. Not a big deal, I know... but it does mean they are easy enough for me to attempt again!


Raspberry Meringue Hearts


Ingredients
3 Egg Whites (Room Temperature)
1/4 tsp Cream of Tartar
3/4 Cup Sugar
1 tsp Raspberry Extract
1/8 tsp Liquid Red Food Coloring
Powdered Sugar (for Garnish)
*You will also need parchment paper, a heart shaped cookie cutter, and a large ziploc bag with the tip cut off (or a pastry bag fitted with a 1/2 inch tip if you are real fancy).


Directions
1. Position racks to divide over in thirds; preheat to 225 degrees. Line two baking sheets with parchment paper. With your cookie cutter, trace hearts evenly spaced on each piece of paper (I got about 16). Invert parchment paper so tracings are facing down.
2. Beat egg whites with cream of tartar in a large bowl with mixer on medium speed until soft peaks form when beaters are lifted. On high speed, gradually add sugar and beat until stiff, glossy peaks form and mixture no longer feel grainy. Beat in extract and food coloring until blended.
3. Spoon mixture into ziploc bag. Pipe the outline of your hearts and fill in completely with your meringue mixture.
4. Bake 2 hours or until meringues feel firm. Turn off oven and leave meringues in oven for another 2 hours or overnight until hearts are crisp and dry. 
5. Peel off parchment and arrange on a plate. Lightly dust with powdered sugar and serve.


Happy Valentine's Day!
Enjoy! :)

Monday, January 23, 2012

Raspberry Bars

Like what you see?


These tasty little treats are one of my top sweets to make! A mix of chocolate and raspberry deliciousness! And...they are so versatile!! Change the flavor. Change the color. Every way I have tried them, they are equally scrumptious!

Today I'm guest blogging on my good friend, Tori's, blog: Sugarcoated.
Sweet treats and sinful snacks are this girls specialty... she can REALLY bake!

To get the recipe and read more about these Raspberry Bars, head over to Sugarcoated. While you're over there check out all the other goodies she's been whipping up. YUM!

 Enjoy! :)

Sunday, January 22, 2012

Buffalo Chicken Enchiladas

Mexican + Buffalo Sauce + Gorgonzola Cheese = Pure Heaven.


This is another recipe from How Sweet It Is. The only thing I can say about this dish to even remotely tell you how awesome it is simply... WINNING! 


It's like Jessica read my mind and put all my favorite things on one plate.

It's like if your favorite wing joint met up with your favorite mexican restaurant and had a love child.
It's.Like.That.Good.


and that's all I can say about that... except go make them! (and let me know how they turn out!!!)


Buffalo Chicken Enchiladas
Adapted from 
How Sweet It Is


Ingredients
8 Large Whole Wheat Tortillas 
3 Chicken Breasts, Cooked and Shredded
28oz Can Enchilada Sauce
1/2 Cup Buffalo Sauce (more depending on your taste)
1 Cup Shredded Monterey Jack Cheese
4oz Gorgonzola Cheese, Crumbled5 Green Onions, Chopped1/2 Cup Fresh Cilantro, Chopped

Directions
Preheat oven to 375 degrees. 
Spray a 9 x 13 baking dish with non-stick spray. Pour enchilada sauce in a bowl and begin by whisking in 1/4 cup buffalo wing sauce. Taste and adjust according to your desired level of heat. Set aside. Add shredded chicken to a bowl with 2 green onions and 1/2 cup monterey jack cheese. Pour in about a 1/2 cup of enchilada/buffalo sauce mixture and mix thoroughly. Stir until mixture comes together. Pour a drizzle of enchilada/buffalo sauce in the bottom of the baking dish. Take each tortilla and fill it with a few heaping tablespoons of the chicken mixture. Roll each up and set it in the baking dish, seam side down. Pour another 1/2 cup or more of enchilada/buffalo sauce on top of tortillas and add remaining monterey jack cheese. Bake for 20-25 minutes. Immediately after taking enchiladas out of the oven, add crumbled gorgonzola on top. Garnish with the remaining onions and cilantro and serve. You will have left over sauce. Store in the fridge for 1-2 weeks, and use if reheating enchiladas.


Enjoy! :)

Wednesday, January 18, 2012

Bang Bang Shrimp

I have a feeling, anyone who has been to Bonefish Grill for dinner is salivating right now. That's right. Bang Bang Shrimp is possible to make at home!!


Since there is not a Bonefish Grill in Pittsburgh yet, and when we visit my parents at home we are busy eating at all my favorite hole-in-the-wall seafood restaurants, I had to try and recreate these for Matt to try. I'd say these are pretty dang close! Even if you have never been to this restaurant, you need make these shrimp. They are a great appetizer that will for sure please any of your shellfish eating friends!

Bang Bang Shrimp
(Inspired from Bonefish Grill)


Ingredients
1 lb Peeled and Deveined Shrimp (don't get jumbo, the smaller cocktail size shrimp works best)

1/2 Cup Light Mayonnaise
1/3 Cup Sweet Chili Sauce
3-5 Drops of Srirachi (I have proclaimed my love for hot sauce before, so add more depending on your taste)
Cornstarch For Coating

1-2 Green Onions, Chopped


Directions
Mix mayonnaise, chili sauce, and sriracha in a bowl and set aside. Coat thawed shrimp in cornstarch and fry until lightly brown. Once shrimp are cooked through, put them on a paper towel to drain the excess grease. Place shrimp in bowl and gently toss so they are coated with sauce. Arrange on plate and top with chopped green onions. Serve warm.


Make sure you buy the 2lb bag of shrimp because if you are anything like my fiance and I, you are going to want to cook another batch right when the first one has been inhaled!

Enjoy! :)

Monday, January 16, 2012

Hawaiian BBQ Pizza

When the temperature is in the teens and the "feels like" on my weather channel app is in the single digits there is nothing worse than getting out of bed to go stand at a bus stop and go to work.


On days like this it takes everything in me not to pack my car and move south for the winter. But I don't... instead it has become custom to light one of my beach scented candles, blast Zack Brown Band or some other country/ summer time loving music, and cooking something delicious that reminds me of home.

This dish, although it doesn't remind me too much of home, was still fun to make. Where my condiment loyalty falls on hot sauce, Matt's is with out a doubt BBQ sauce so I knew this pizza would win him over also.


The best thing about pizza (besides it's fantastic taste!) is that there is no measuring! You just take all your favorite things and throw them on some dough! The possibilities are endless! Sometimes, don't you just want a night where you don't have to measure or really think about what you are about to put in the oven? You just want to know that it will come out tasting great? This is your pizza. Seriously, make it tonight.


Hawaiian BBQ Pizza

Ingredients
(no measuring, just add as much or as little as you like. Have fun with it!)
Whole Wheat Pizza Dough (I buy mine from Trader Joe's)

BBQ Sauce
Chicken
Colby Jack, Cheddar Cheese, Mozzarella Trio-Shredded
Purple Onion
Pineapple Chunks
Cilantro

Directions
Let your dough sit at room temperature for 20 minutes. Season your chicken with salt, pepper, and BBQ sauce on both sides and bake until done (I usually do tender size pieces at 400 for 20 minutes). While your chicken is cooking and your dough is rising, slice your onions. I also cut the pineapple chunks in half. In a bowl mix BBQ Sauce with a little bit of pineapple juice. This will be your "pizza sauce." Once your chicken is done and cool, chop into bite size pieces.


Assembling your pizza: Make sure you flour the dough, and your hands. On an oiled pan, stretch the dough until you have the desired shape and thickness. Spread a layer of your sauce down over the dough. Add shredded cheese, onion, chicken, and pineapple chunks. Bake at 500 for about 15 minutes until cheese is melted and crust is lightly browned.

When you pull it out of the oven add chopped cilantro on top and serve!


What are your favorite homemade pizza concoctions? Let me know!
Enjoy! :)

Thursday, January 12, 2012

Tiramisu

Happy Birthday to the fiance!


I think if Matt could eat one thing for the rest of his life it would be this tiramisu. If I ask him what kind of dessert he wants, I can hands doing guarantee you that tiramisu will be the answer. Not serving Italian for dinner? Not a problem... he will still eat it for breakfast, lunch, and dinner. Oh and for dessert. This makes it easy for me because I know for every birthday and anniversary, past and future, I can make this 10 minutes (or less) tiramisu and he will be the happiest man alive. 


It makes his pearly whites beam even brighter that I don't drink coffee. Which means this entire 8x8 dish of glorious-ness is solely devoured by him and only him. Typically in less than 48 hours. And not a single pound will be gained in the process. I know. Annoying!


This dessert is sure to impress (and please) anyone you put it in front of. It's one of those where people will praise you all day long and you will probably spend 20 minutes max in the kitchen. {Make sure you rub some confectioners sugar on your face and amp up your kitchen slaving time... I give you permission to accidentally forget to mention that this dessert is no bake!}


Tiramisu


Ingredients
3 Egg Yolks
1/4 Cup Sugar
2 tsp Vanilla
1 1/8 Cup Mascarpone Cheese
24 Ladyfingers
1 1/2 Cup Brewed Coffee or Espresso
1 tbsp Coffee Liqueur (optional)
Cocoa Power for Top


1 Cup Heavy Cream
1 tsp Vanilla
1 tbsp Confectioners Sugar


Directions
Beat egg yolks with sugar and vanilla until smooth and light yellow in color with and electric mixer. Fold mascarpone cheese into yolk mixture. Put coffee in a shallow dish and very briefly dip lady fingers in (making sure not to saturate them). Arrange the lady fingers on the bottom of an 8x8 glass dish. Spread half of your mascarpone mixture over the lady fingers. Repeat with dipping remaining cookies and then adding another layer of the mascarpone mixture.


To make whipped cream: In a large bowl, whip heavy cream until stiff peaks are just about to form. Beat in vanilla and sugar until peaks form. Make sure you don't over beat. Your cream will then become lumpy and butter-like.


Next, carefully spread your whipped cream over the top mascarpone layer. Chill for an hour or more. When ready to serve dust with cocoa powder.


Enjoy! :)

Wednesday, January 11, 2012

Quiche

Oh this quiche....stupid quiche. 

You see, while shopping I remembered that I had a deep crust pie shell in the freezer {I know, how semi-homemade of me} and it hit me like a ton of bricks that I was in the mood for my chili cheese quiche. It had to be made for dinner that night and I simply could not wait any longer. I always have green chilies in my cabinet so I grabbed the last couple things I needed and headed to check out. 


You know what comes next... change that "I always have green chilies" to "I always have green chilies except for the ONE TIME I need them!!" Ugh! Since I had to have quiche for dinner I raided the veggies I bought. A little onion, a green pepper, and bacon got added. Because lets be honest everything is better with bacon.... and hot sauce.

40 minutes later and guess what? This veggie quiche made on the fly was quite delicious! Not so stupid now!! Matt even said he would like it again! 

Quiche

Ingredients
1 Deep Dish Pie Shell 
1 1/2 Cups Shredded Jack Cheese
1 Cup Mild Cheddar Cheese- Shredded
1 Green Pepper- Chopped
1/2 cup Chopped Onions
1 Clove Diced Garlic
4 Pieces Turkey Bacon
1 Cup Half and Half
3 Eggs
1/4 tsp Salt
1/8 tsp Pepper


Directions
Cook pie shell according to directions on package. Heat oven to 325 degrees. Cook bacon, then cook onions, garlic and peppers until translucent and soft. Sprinkle all of jack cheese and 1/2 of cheddar cheese over bottom of cooked pie shell. Distribute veggie mixture and crumbled bacon over cheese. Beat half and half with eggs, salt and pepper until blended. Pour into the shell. Sprinkle remaining cheddar cheese lightly over pie filling. Bake for 40 minutes until the center of quiche is set. Let stand 15 minutes before cutting.


Enjoy! :)

Sunday, January 8, 2012

Black Bean Chili


Chili. It's what for dinner. 
And if you live with me I really hope you like it, because I cook some variation of chili at least 2-3 times a month.


This particular recipe is a new one my Mom raves about. I hear about this chili from her at least once a week. No joke. So I thought if its that good, I might as well give it a whirl. She makes it in the crockpot, which I had all intentions of doing... until I had to go to two grocery stores to get my weekly groceries and camp out at the gym absurdly  early to secure my spot in spin class. Resolutioners... you are doing a great job sticking with it, now please go to another gym.

Anyways. I made this black bean chili on the stove top to speed up the process. This made Matt happy since it was ready to be served during halftime of the Steeler/Bronco game.

Black Bean Chili
(From the Kitchen of Sally Bielat)


Ingredients

2 lbs Ground Beef
1/2 of Large Onion, Chopped
2 tsp Chili Powder
1 tsp Sugar
1/2 tsp or so of Cumin
1 (11 oz) Can  Mexican Corn 
2 (14 oz) Cans Black Beans -Rinsed
1 (14 oz) Can Sodium Free Beef Broth  (less if you want it thicker)
1 (15 oz) Can Seasoned Tomato Sauce for Chili
2 (14.5) Cans Diced Tomatoes  (I used Delmonte diced tomatoes for chili.)

Directions
Brown beef and onion. Drain.  Add chili powder, sugar and cumin.  
Add hamburger and all ingredients to a large pot and bring to a boil.

Simmer on stove top for about 45 minutes. If you plan to make this in a crockpot, all the ingredients in your crock pot after the beef and onion mixture has been browned.   Cook it on high for about 4 – 5 hours.

Ladle chili into bowls.  Top each serving with shredded cheese.


Enjoy! :)

Saturday, January 7, 2012

Eggnog

Happy 2012 Everyone!
I hope everyone had a fantastic time ringing in the new year!


Matt and I got to spend the evening with his whole family. It was so nice having everyone in town. We relaxed, played games, and ate way too much. And then we ate some more. Did anyone else have this problem?! Now a week later... we are back into our everyday routine, but I still have a few exciting things to share with you!


On New Years Eve we made Eggnog! I know! Homemade, not store bought, Eggnog! And guess what... it was not as difficult as it sounds! Eggnog is one of the things I most look forward to every year during the holidays, so when Mary said we were going to make it I was happy to step up to the challenge and help in making it.


You know how people say you've been drinking too much eggnog? I think this is definitely the recipe! But is was SO worth it! Deeeeeeeelicious! 


Spirited Eggnog
 
Ingredients
6 large eggs, separated
3/4 cup sugar
2 cups heavy (whipping) cream
2 cups whole milk (we used 2%)
1-3/4 cups bourbon
1 cup cognac
3 T. dark rum
Ground nutmeg, for dusting
 
Directions
1.  Beat the egg yolks in a large bowl with an electric mixer, gradually adding the sugar until the mixture is pale yellow. Set aside.
2.  Place the cream in another bowl and beat until it holds soft peaks.
3.  Stir milk into reserved egg-yolk mixture. Then, using a large rubber spatula, fold in the whippped cream.
4.  Shortly before serving, gently stir in the bourbon and cognac. Transfer to a punch bowl.
5  Beat the egg whites in a bowl with an electric mixer until they hold soft peaks; carefully fold into the eggnog. Drizzle the top with the rum; sprinkle with the nutmeg.
Surround the punch bowl with cups and serve immediately.


Sarah and Mark enjoying some nog.
Enjoy! :)